This post is for people who have the same or similar problem as I, or
who doesn't want to give their eye a paper-cut, or put tape on their
face, or hold a piece of flimsy tissue paper up to their eye to trace,
or any other reason why you are still looking for a way to apply
eyeliner. Have you always wanted to wear winged eyeliner but could never get the wing angle looking quite right? Well, that's me. My parents were nice enough to give me a little something from both of their genes. One slightly hooded normal eyelid and one completely hooded eyelid. So as you can imagine creating wings with my eyeliner is more difficult then normal and I gave up on it a long time ago.
My method is very similar to holding a piece of paper up to your eye and I was dumbfounded when I stumbled upon a perfect winged liner for my eyes. I was applying eyeliner to my water lines and over shot on the bottom outer corner so I grabbed a paper towel folded it and started to very gently wipe it off. When I removed the napkin from my face i had a straight line starting at my eye and extending out like winged eyeliner. It was faint so I decided to fill it in. GOLD! The line the napkin created followed the natural fold of my hooded eye and showed me where the line needed to be.
So on to the how too!
Step 1. Grab a paper towel or paper napkin and fold in half creating a pretty good (doesn't have to be perfectly flat) crease.
Step 2. Take your eyeliner and apply it to any area of the folded edge of the crease. Make it about 1/4"-1/2" long.
Step 3. Bring the drawn on part of the napkin up to your bottom water line and while lining up with the natural curve of the outer 1/3 of your bottom water line rub the napkin's crease lightly only about an inch back and forth (from nose to temple.)
Step 4. Remove napkin and you now have a solid tracer.
Step 5. Use liner to darken and fill in the area.
Now if your like me and because of the hood you will get a stamp on the upper part of your eyelid. Don't fill in past the first millimeter or two, past your eye lashes. Then pat on some clear/ translucent face powder to the liner wing (unless you used some bad ass liquid liner line MAC's Liquid liners or Makeup 4 ever.
I hope this is helpful and allows some who were wing impaired like me to try the winged liner out again, and maybe this gave some of you have a new quicker way to put on you liner. (seems to me like it would be )
An American Cutie~
Wednesday, July 3, 2013
Thursday, June 13, 2013
Eye Contact
A little off topic but well worth the read.
A couple weeks ago I went to CVS to pick up some items I needed. This shopping center can be a pain in my... side, sometimes with horrible parking and just not is a great neighborhood, but it's conveniently close to my place of business. I had to park on the street this time which is a good little walk to the doors for CVS, and of course I had to wear my killer heels and a cute little skirt and navy blue shirt combo that day.
While I was in the store checking out the bajillion different kinds of congestion relief, I noticed a male a little ways down my isle that was walking away from the store when I was walking in. Anyone else think that's odd? I kept shopping and decided to move to the "Feminine Hygiene" isle to see if he'd follow. He didn't follow but continued to glance in my direction discreetly.
I finished up and paid at the pharmacy since that stuff is regulated and blah, blah, blah. On my way to the front doors I kept an eye on this guy from one row over, who was looking at shampoo and conditioner... for his harry bald head... Yes! Noticing this when I got to the end of the isle to head to the door I looked back to notice he was heading for the front door now too! I quickly turned around and walked back to the other end of the isle and did what he was doing. I pretended to look at something on the shelves while glancing up he had turned around himself and had gone back to the shampoo, for his harry bald head...
At this point in time I should have gone to the cash register and asked for an escort out to my car since I had a little ways to in these killer heels. But I didn't. I decided to make a quick dash for the door. Right before I got to the door I turned around clutching my purse on my shoulder. I stopped, stared directly at this guy (who was once again walking towards to door along with me) until he glanced up and made eye contact with me. He quickly looked away and then casually looked back at me while I stood there still, staring at him from about 15 feet away. As he turned around to look at an end cap I made the quick dash for the door and towards the street to my car continuously looking back. A little over half way to my car the guy walked out of the store heading the same way I saw him when I first walked into the store. Away from it, towards the street.
Thinking back I should have asked for a store manager to escort me to my car. I should have called the police and reported his suspicious activity, but I didn't. I should have and will the next time something like this happens.
The message I want everyone to get out of this story is to always be aware of your surroundings, don't be afraid to make eye contact, and be smart when you notice something suspicious. This guy was following me, I have no doubt of that and no, it wasn't a paranoid or narcissistic notion. This guy had intentions for me, what? I don't know, but what if I wasn't paying attention to my surroundings and had my head buried in my phone, who knows how that would have turned out.
Keep your heads up and safe!
American Cutie
Wednesday, June 12, 2013
Sun, Sunscreen, and Your Health
Is slathering on sunscreen every time you go out into the sun really good for you? For years, research has shown that putting on sunscreen before going out into the sun helps to lower your risk of sunburn, melanoma, sunspots, and prematurely aging skin. Although spending time in the sun has also been shown to help the human body produce Vitamin D and help with some other skin issues such as Psoriasis and Eczema. Specifically UVB rays are being used to treat some skin issues in doctors office and home use systems. More research is being done on the benefits of UVB rays.
Some researchers have made the argument that too much sunscreen can actually prevent your body from weeding out the mutated cancerous cells. (Unfortunately, for the life of me can't find the video to quote the researchers name on this one.) The sun is the best source for your body to create Vitamin D which in turn helps cell reproduction and calcium absorption and regulation. If you are constantly using a high SPF sunscreen that blocks both UVA and UVB rays you are for sure lowering your risk of skin cancer and premature aging, but what about other cancer causing cells? The sun can help your body create Vitamin D which helps cellular reproduction and helps to rid your body of mutated cells that can turn cancerous. Vitamin D when converted by the kidneys is turned into Calcitriol which acts as a hormone in your bloodstream to regulate calcium levels in your body to promote healthy bone growth too.
So your body ultimately needs some sun. Now I'm not suggesting you never wear sunscreen again, and far be it for me to think I am completely correct on all things sun. I have done some research and only speak of what this limited research has taught me and encourage you to do some research of your own. I understand the basics of needing at least 15 minutes of sun everyday to keep my body healthy. Not to mention being in the sunshine just lifts my spirits.
I wish I knew the pros and cons of sun exposure in my youth and I might not have so much sun damage and prematurely aging skin. Wear sunscreen if your going to be out in the sun for prolonged periods but wear a lower SPF so your body can slowly absorb at least some of those UV's to help your system do what it's supposed to do. Remember to apply every few hours so your body doesn't OD on UV's like getting a sun burn. Ouch! If your going to be out in the sun running errands or taking a short bike ride to the store don't worry about it, but ALWAYS wear sunscreen on your face! If you must wear sunscreen all the time choose a low SPF of 15 or 20.
These are just my opinions on the research I have done and the facts I find relevant for people to know. In no way am I a doctor or even recommend you follow my advise. Do what you feel is right for you, this is what is right for me.
So enjoy the sunshine this summer safely.
Your American Cutie
Tuesday, May 7, 2013

Wednesday, April 17, 2013
My go-with-me-everywhere Beauty Bag
This post is about my beauty bag. I take it with me EVERYWHERE. This bag carries all the things I feel I may need at any point or place, like if I get stuck some where and need to spend the night there. Eek! right?
MyGlam Bag Revisited
(the Ipsy online community is free.)
This is my second review of this beauty sample bag subscription. Click here to see my first review.
I am pleased that I stuck with Ipsy as it journeyed along it's path to coveted monthly beauty subscription. Every month you get 4-5 deluxe samples and full size beauty products. The products may not always be the one or what you wanted or even something you'll use, but that is the risk you take when participating in subscriptions like this. 50% of the time the products are from companies you've never heard of and some times you get multiple products from one beauty brand. Some times you get your 5th different type of Argan oil, and some times you get sample pouches. Ipsy is the only subscription box/ bag, what ever you want to call it, I currently subscribe to. Yes, I tried others like Glossybox and Sample Society, and both were pretty awesome. I chose to stick with Ipsy for 3 reasons.
Tuesday, April 16, 2013
Lime Crime Eyeshadow Helper
Lime Crime Eyeshadow Helper .35 oz, $16.99 us
UDPP, Shadow Insurance, Smudgeproof Eyeshadow Base, Stay Don't Stray... If any of these sound familiar to you and your shadow still seems to wander throughout the night and day... Then we need to have a talk.
UDPP, Shadow Insurance, Smudgeproof Eyeshadow Base, Stay Don't Stray... If any of these sound familiar to you and your shadow still seems to wander throughout the night and day... Then we need to have a talk.
Wednesday, October 31, 2012
Soap & Glory The Righteous Butter
Soap & Glory
The Righteous Butter Body Butter
1.69 US Fl. oz. $5 us

The Righteous Butter Body Butter's fragrance, smells of Chrysanthemums, Rose, a touch of grapefruit, and a hint of the sea. It's a very pleasant smell if you like citrus-y smells but very powerful. This body butter is made with a mix of Shea Butter, Glycerin, Coconut Oil, Cocoa Seed Butter, and Rosa Moschata Seed Oil. It doesn't really claim to do anything other than be a very dry skin formula. I don't have very dry skin so I don't know how effective this would be on very dry skin. On my normal skin the Righteous Body Butter works pretty good to keep my legs and arms moisturized for several hours. The palms of my hands... not so much. It feels like it dries them out a little after about 2-3 hours, but this might be because I handle paperwork all day.
Thursday, October 11, 2012
Olivia Care Hand Soap
Olivia Care
Olive Oil & Herbs Liquid Hand Soap - Mandarin
$10.00, 20 oz
Olive Oil & Herbs Liquid Hand Soap - Mandarin
$10.00, 20 oz

This stuff is pretty awesome. Not only do I use it for my hands at home but I use it on my oily to combination face! I know I know.... It soooo bad to use hand soap on your face, but this one is different! It contains chamomile, aloe, comfrey, and rosemary, all of which help to heal the skin. The only thing this soap is lacking to make it a fantastic facial cleanser is an anti-bacterial component. As is it lathers real quick, smells super awesome, and doesn't dry out my skin. The secret to this product is the olive oil they use in. It leaves my skin so soft and it doesn't get oily later on, well... any more then it normally would with some other expensive facial wash that cost $60 for less ounces.
Friday, June 15, 2012
Beauty from the inside
This time of year is the beginning of a very busy season for another hobby/ activity I love. Even more than makeup! I'm talking Drum Corps. Drum Corps is music's Major League. Students from all around the world ages14-22 pay a lot of money to march with their favorite Corps each year. My tuition when I first joined Drum Corps in 1998 was $475. That very same Corps today costs $2600!!

Sunday, March 25, 2012
MyGlam Bag
My GlamBag
$10.00 per month US Via myglam.com
I have to say just a little bit about this new beauty sample subscription program that came out in December of 2011. Subscriptions for this company, created by Michelle Phan and a couple other youtube beauty guru's, sold out quickly out in December. More subscriptions became available in January for a limited time. This service promoted that each month for $10 you will receive 3 - 4 deluxe size beauty samples. I wasn't sure what to expect from them so I waited to see what their first bag had, thinking it would be a good representation of bags to follow. Their first bag was AMAZING! The first bag had 2 deluxe size samples and 4 full size samples and the enticing part was it was ALL makeup! Makeup junkies dream! I jumped at the chance after I saw their first bag and saw that more subscriptions had opened up in January. Now I understand that they never promised the bag would have all makeup products, deluxe or full size makeup samples, or even that makeup would be in the bag. They advertised the bags as having beauty products in them.
Saturday, March 24, 2012
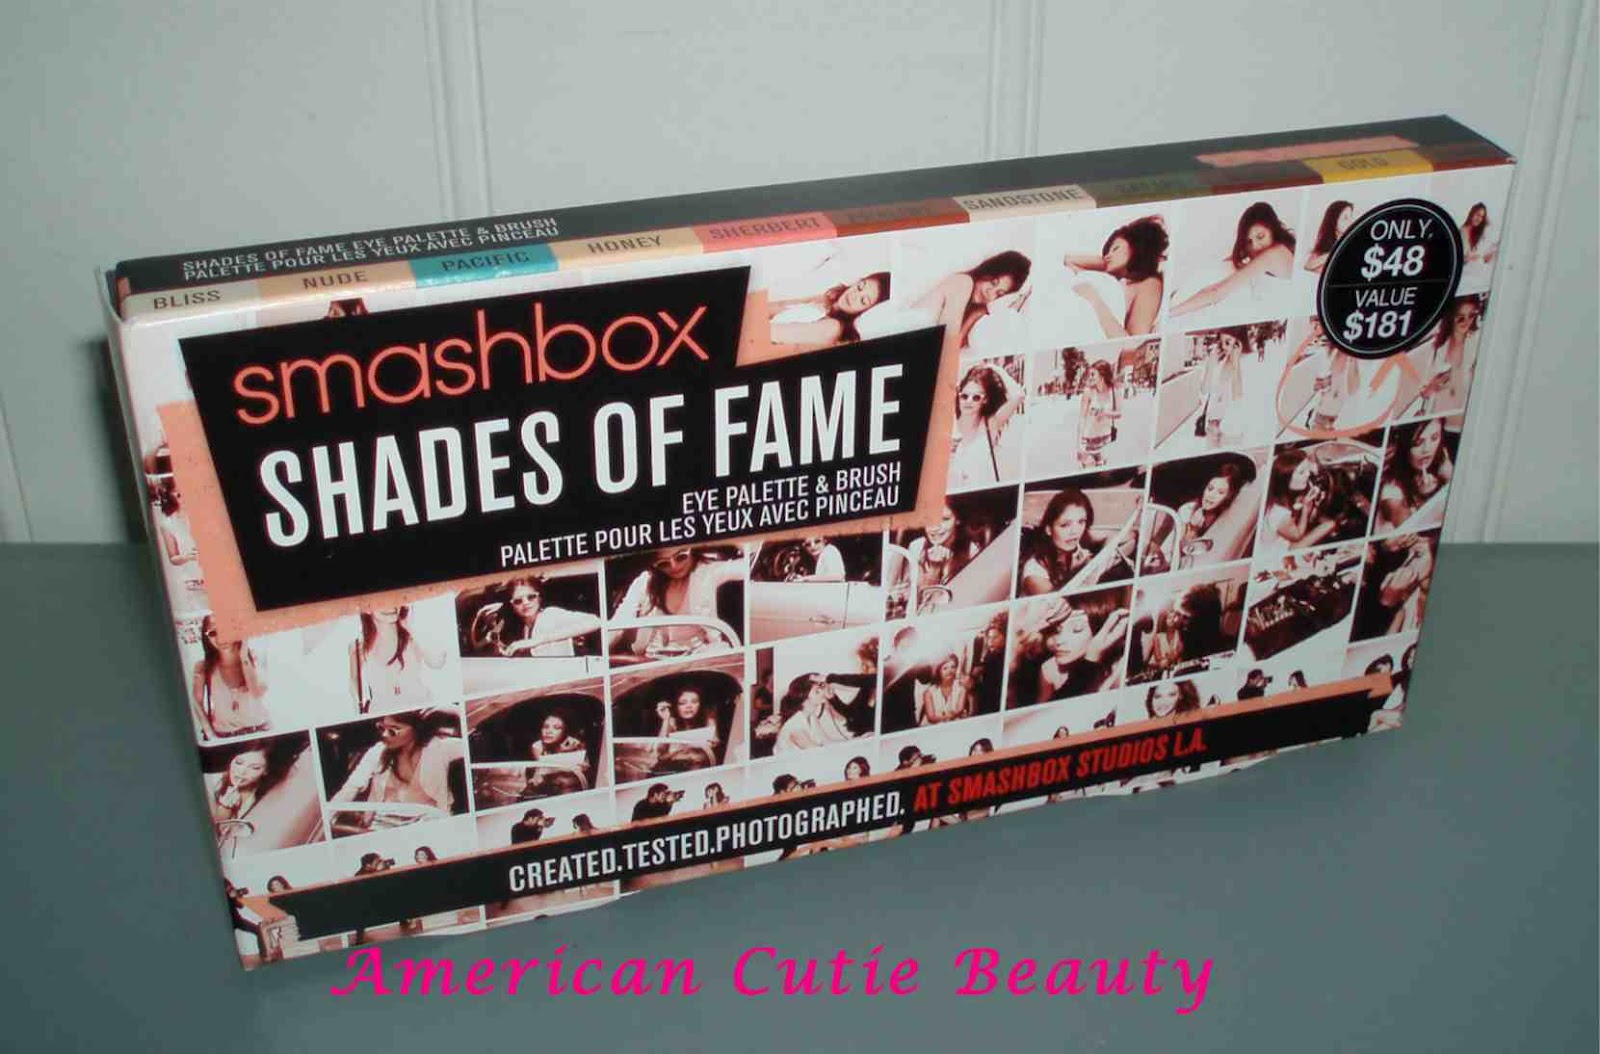
Smashbox Shades of Fame Pallet
-->
SmashBox Shades of Fame
Pallet and Brush
$48.00 US at Sephora
This pallet is just in time
for spring. The color selection is very neutral, with just a few colors to
brighten it up and make it fun. It comes with nine shadows, two cream liners,
and a double-ended brush with a flat, fluffy blending brush and a flat liner
brush. Out of the nine shadows all are warm toned except Pacific, which looks
to be cool toned. Most of the colors show true from pan to swatch and some just
don't have the same effect swatched as it does in the pan.
Monday, March 19, 2012
Benefit The POREfessional
Benefit's The POREfessional
.75 fl oz. $29.00 US
Available at Sephora

(Picture is of a smaller size)
Benefit's The POREfessional says it's a PRO balm to minimize the appearance of pores. The POREfessional is oil-free but if you tend to have oily skin you may want to use a product that controls oil and shine along with it. It is super lightweight, it isn't heavy when using it with other products or on it's own. The product is a creamy natural beige color but thins out to be translucent. This isn't like a face brightener so it doesn't have any shine or sparkle to it. It's a bit on the matte side of finishes. The creamy formula finishes silky smooth like velvet and just like most of benefit's products (at least the ones I have used) it has a fruity smell to it. The green tube packaging has a velvety feel to it as well and is flexible with good construction. You can use it under makeup, over makeup, as a touch up during the day, and on it's own.While applying it pat it on so it can settle into your pores and remember a little goes a long way with this stuff.
I have fairly large pores in places like my T-zone and chin, and I found it to work pretty good on minimizing the appearance of them. I enjoy using it when I don't put on any makeup so I have a barrier against dirt trying to clog my pores and my skin has a smoother finish to it. I find that I have to touch up at least twice during the day. Only once if I'm not going anywhere that night so it has about a 5 hour wear without makeup on oily skin. It's a good product but doesn't eliminate the appearance of pores. (Which it doesn't claim to, so don't expect it to.) It does minimize the appearance of pores which it DOES claim to! I give this product a thumbs up for Winter and Spring but I am not sure about Summer since I don't think it will survive sweatier the days.
Enjoy your day my Cuties!
Friday, March 16, 2012
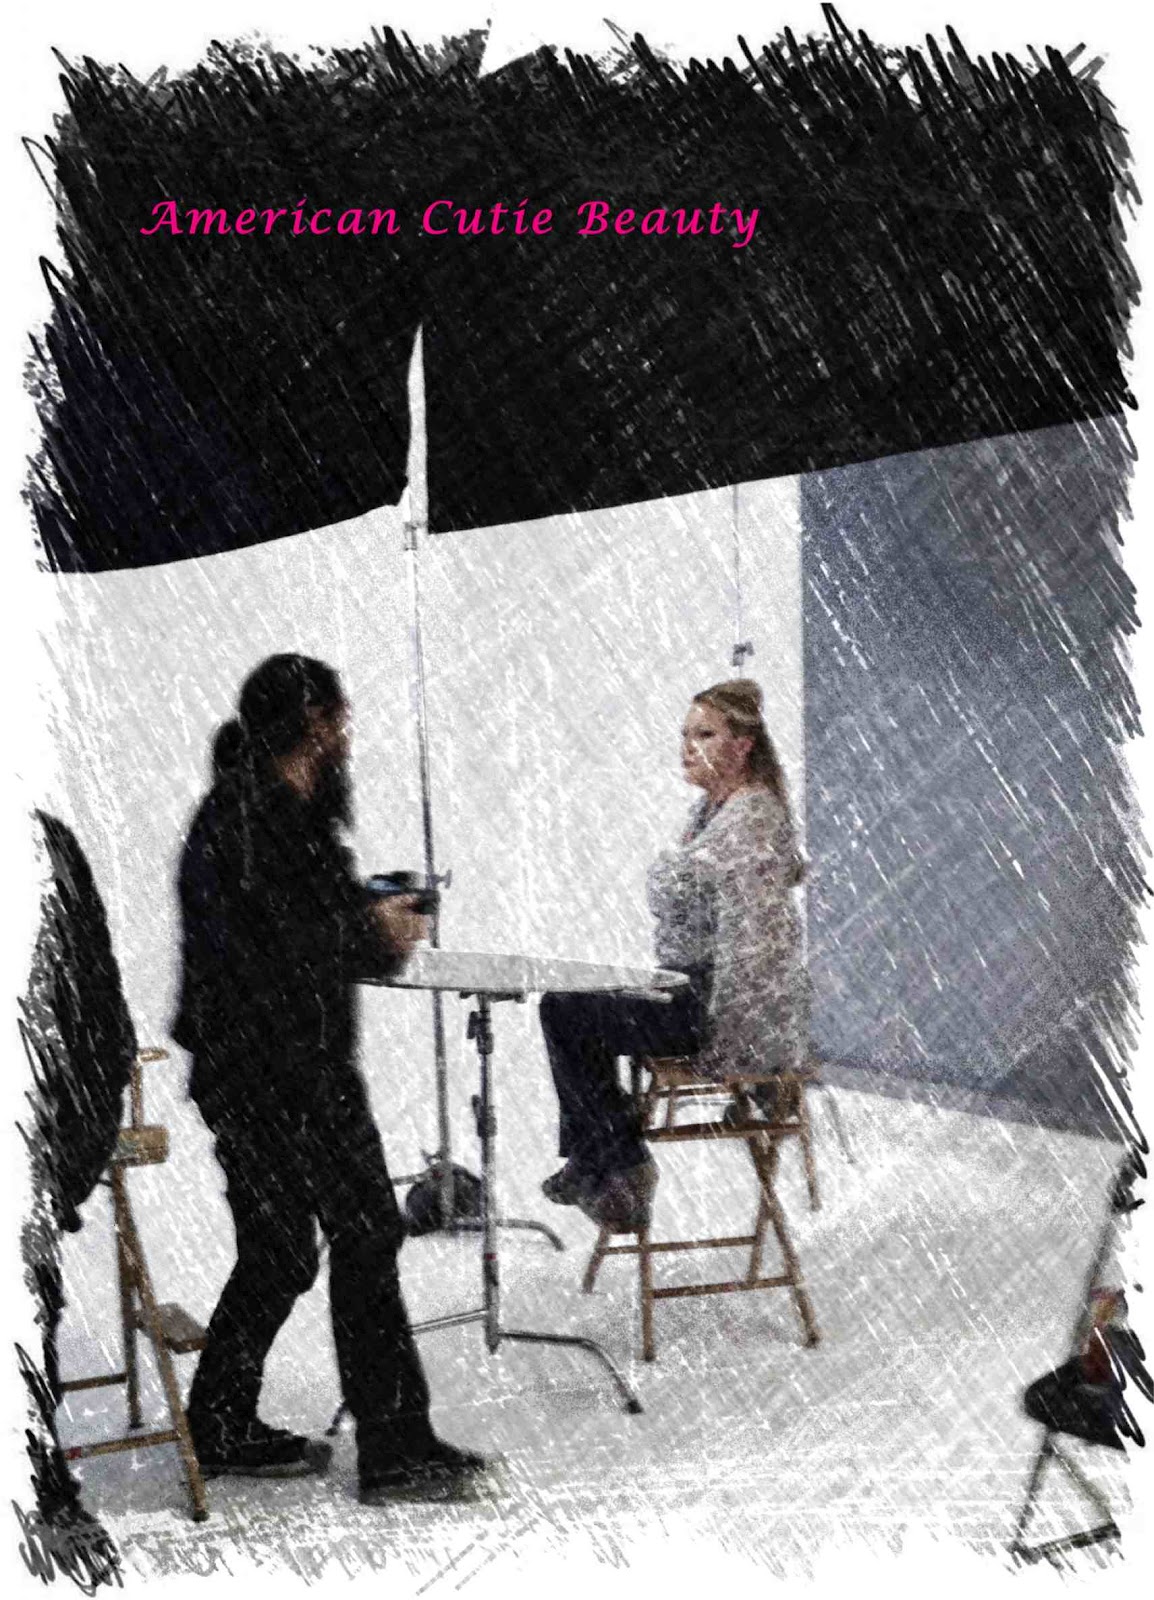
Smashbox Shades of Fame Launch Party
Sephora's private VIB Party last night was pretty awesome! It was launching Smashbox's new pallet Shades of Fame, and was held at Smashbox Studios in LA. Take a look at how the night went!
Also check out my review of the Shades of Fame Pallet
Also check out my review of the Shades of Fame Pallet

Jenni (my sister in law) and I were the first people there! Nerds? Maybe! Wanting not to wait in long lines or get caught in traffic? Yes! ha ha But we were REALLY early, like they weren't even completely set up when we got there at 5! haha

Once they started letting us in a lady escorted us over to the bar first and we grabbed some pink drinks and then over to the makeup stations to get our makeovers done by the amazing Smashbox and Sephora makeup artists.

This was my makeup artist Tuesday! (Loved her name!)

Then off to get our professional head shots taken. The photos were eventually taken by Davis Factor, world famous photographer but since we were the first people to get them done he wasn't there yet. The guy who took our photos is one of the photographers for the studio and was awesome! They gave us a CD right on the spot of all the photos they took for us to keep.


After the photos we mingled and met two really nice women Marieke and Danielle. We laughed and got to know each other over mini kobe beef burgers and other yummy stuff.


Here is the debuting pallet Shades of Fame. Super pretty colors! Nine powders and two creams.


I had to take a picture of this lady. She was dressed so cute in her vintage dress. She got it from Elsewhere Vintage in Orange she told me.

This was our swag bag. It came with a $10 Sephora gift card, a sample size Smashbox Lid Primer, and a sample size Smashbox Full Exposure Mascara. Pretty cool!


We had so much fun joking with the waiters, nibbling on the hors 'd'oeuvres and getting to know new people. They had this awesome spinach pesto feta cheese pizza thing that was to die for and warm chocolate chip cookies! YUM! So yummy one lady pushed another girl out of the way just to get to the food! Sephora promises to do more of these events and I would recommend if you have a chance to go, do it! You'll have a blast! There were about 200 people there that kind of filtered in and out through the night so it was never crowded.
This next part really has nothing to do with the actually pallet. I was a bit disappointed with Sephora's staff. I was told by the ladies who work for Sephora selling the pallets that this pallet was not going to be released to the general public till April, yet they have it for sale on their website RIGHT NOW! So maybe I heard them wrong and they meant to say it wasn't going to be sold by any other companies to the general public till April... But wait, another beauty store online is selling it already too! ha ha, I am not disappointed that all you cuties out there can buy this pallet already but I am disappointed with the ill informed staff they had there. Unless it was a marketing ploy to sell more pallets that night to the attendees that thought we were "so cool" (ha ha) to be able to buy it a couple weeks before the general public. HAHA, WOW They saw me coming! =(
I hope you enjoyed coming to the party with me (well in photos.)
One Tired American Cutie Beauty.
Thursday, March 15, 2012
Launch Party
Hello my Beauties! I have super exciting news to tell you all about.
Me and My Sister-in-law Jenni will be going to a VIB Launch party tonight sponsored by Sephora, for the launch of Smashbox's new eyeshadow pallet Shades of Fame. *SQUEALS* I was lucky enough to be one of the few to get on the guest list for this event. I hope I'll be able to take pictures and take you all with me to the party. This will be a first for me so wish me luck I don't trip on my way in the door!
Have a great night from an Excited
American Cutie Beauty!
Subscribe to:
Posts (Atom)